Getting Started
Step-by-step guide for running a guided workflow
This walkthrough follows a complete run from signing in through to the consolidated final report. Each stage pauses for your review before the workflow moves on.
Note — Workflow Processing Time
A complete workflow may take approximately 20 minutes or longer, depending on the complexity of the case file and the number of documents being analyzed. This processing time is expected, as Ultimarii workflows are designed to prioritize the accuracy and depth of analysis over speed. You may leave the page and return later, as workflow progress is automatically saved in Case Files.
Main UI
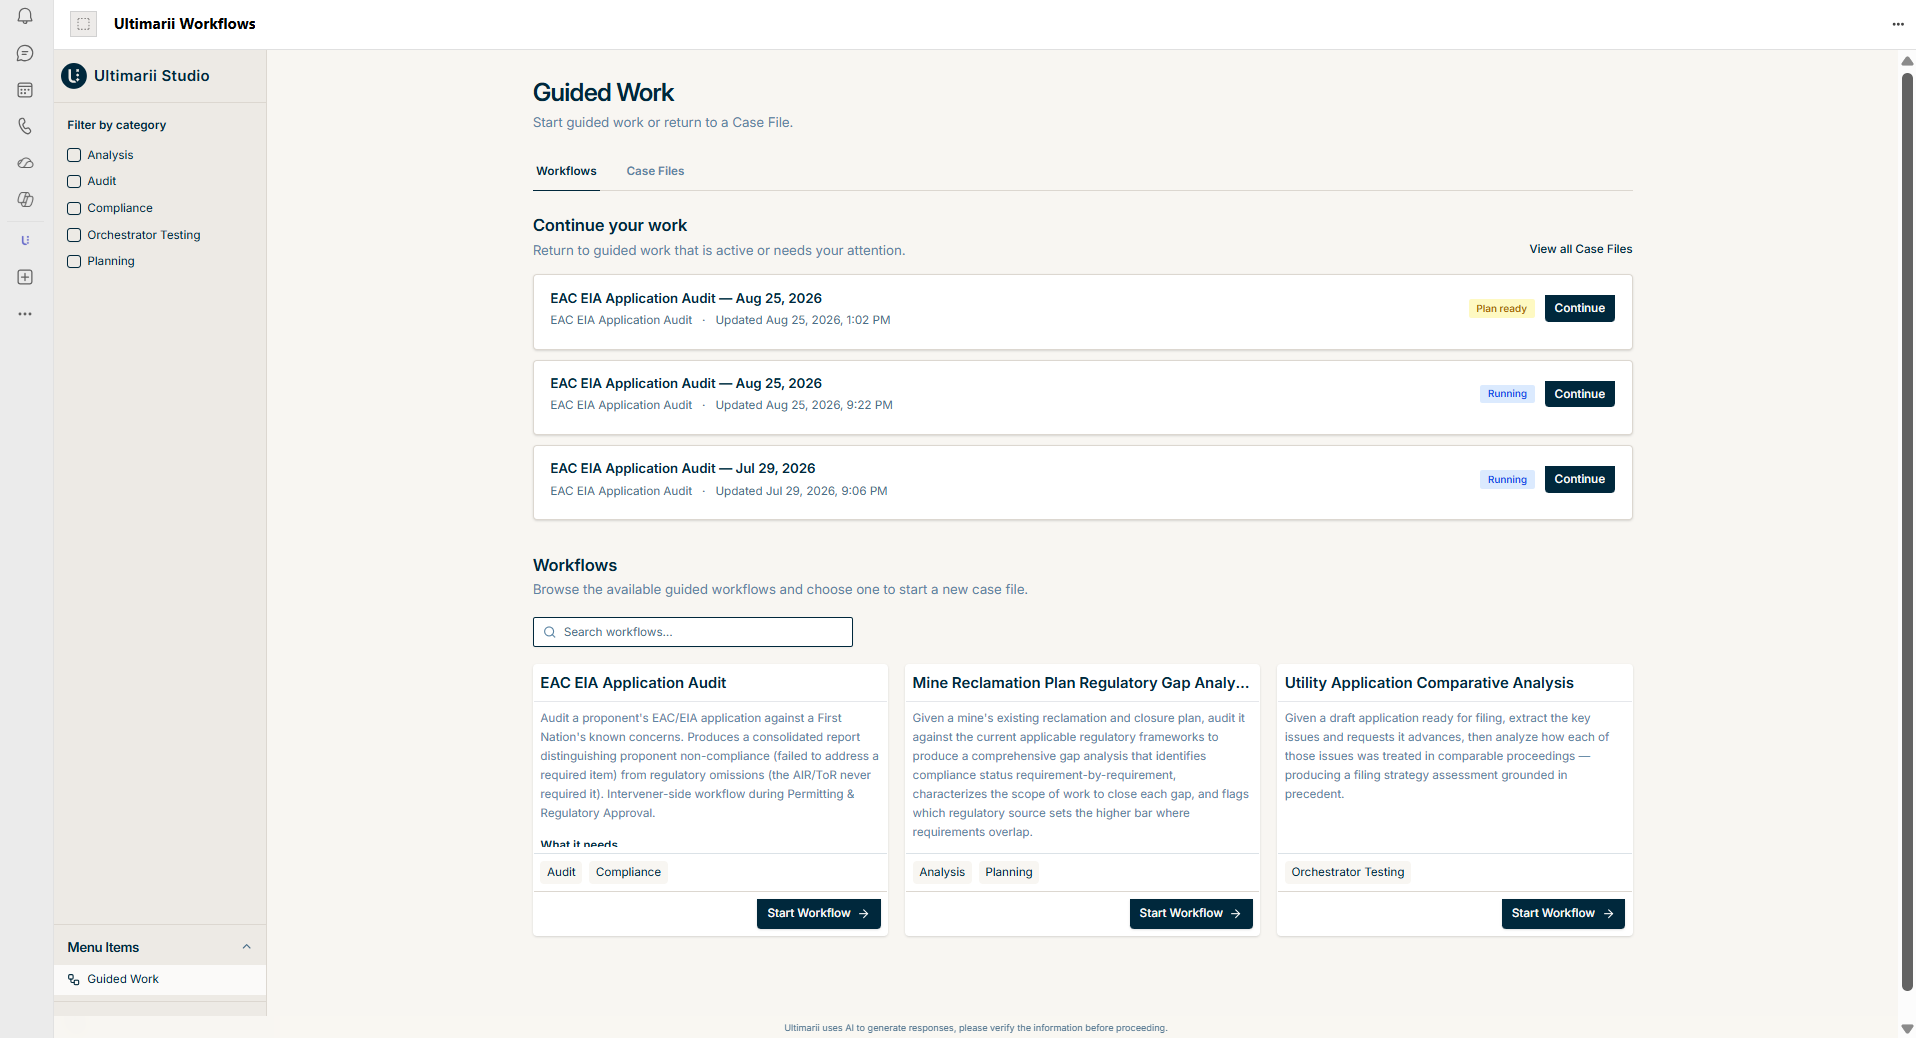
As soon as you are signed into the application, the screen below will appear. Here you can see the workflows and the case files listed under your signed-in account.
- Workflows
- The guided workflows available to your account, which you can browse and start.
- Case Files
- The workflows which you have already started — either needs your review to move forward into the next steps, or review the final report.
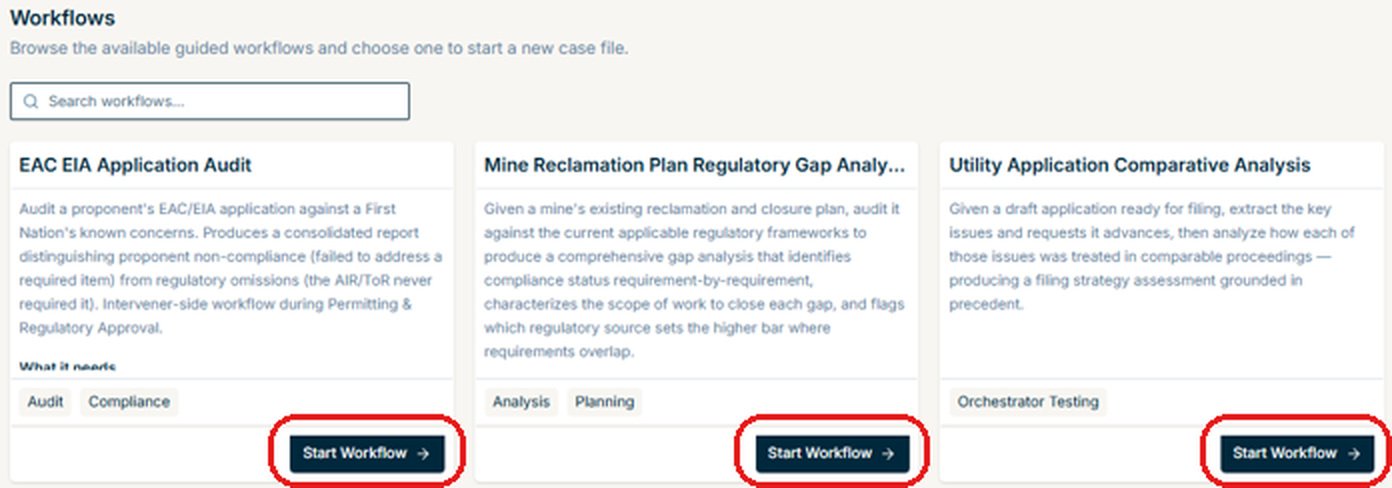
Browse the available workflows
Based upon your level of access, libraries which are accessible to your account will appear here. Among the listed workflows you can select the desired workflow and start processing.
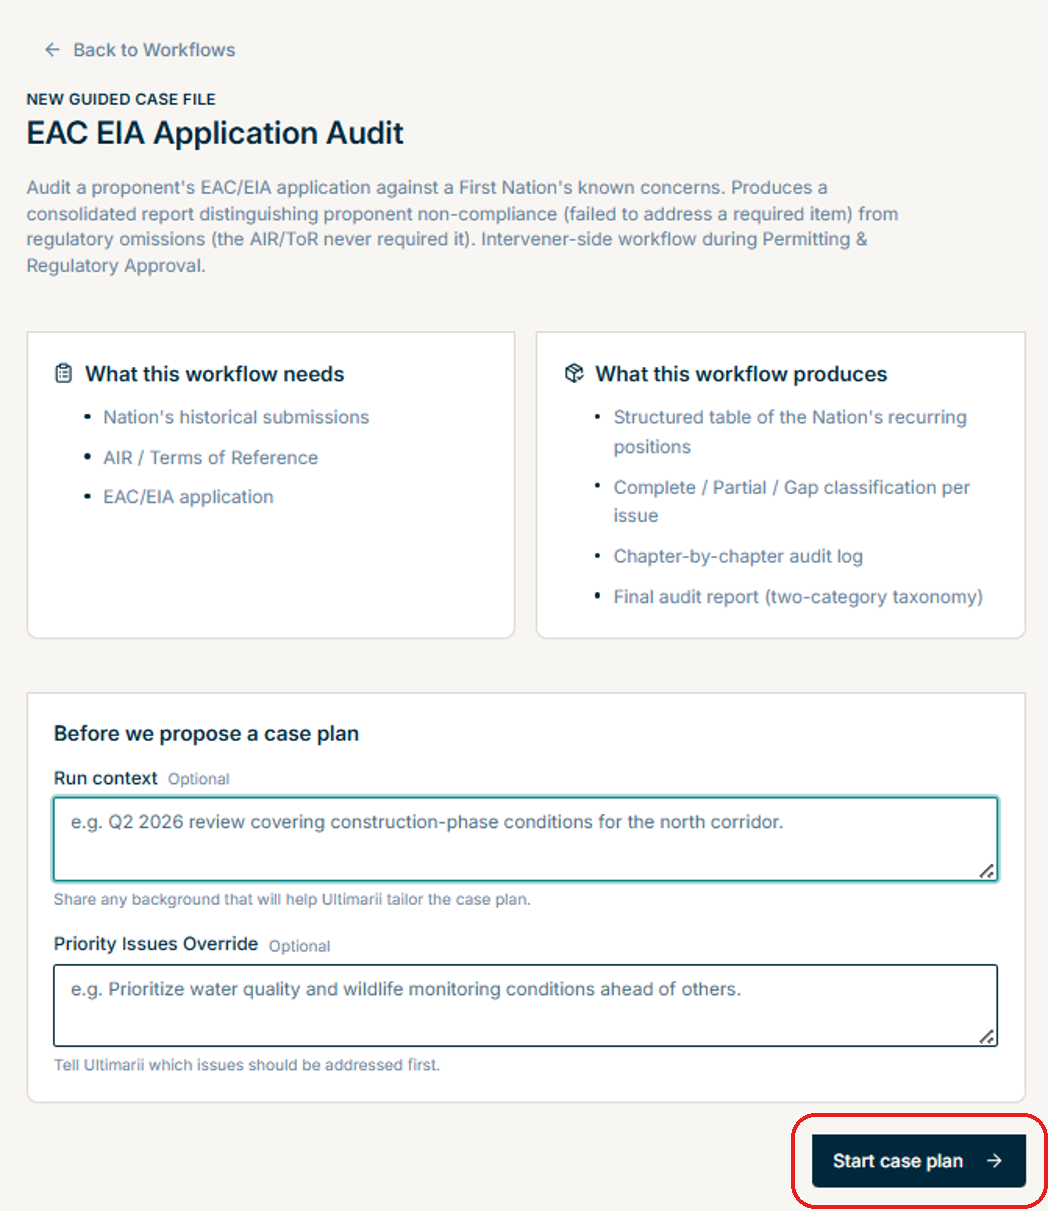
Review the workflow and start
Once you select a workflow, you can review what it needs and what it produces. You can also enter the Run context and Priority Issues Override — these are optional fields that let you share background or tell which issues to prioritize. You can also leave these two fields blank. Once you’re ready, you can click Start case plan to begin.
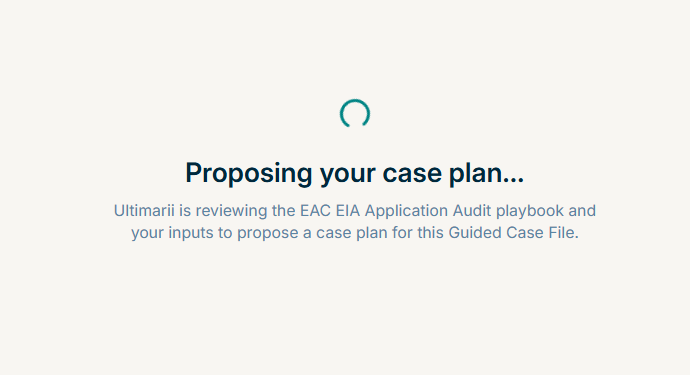
Proposing your case plan
Once you click Start case plan, it reviews the relevant playbook along with your inputs to propose a case plan for this workflow. While this is happening, the screen below will be visible, stating “Proposing your case plan…”
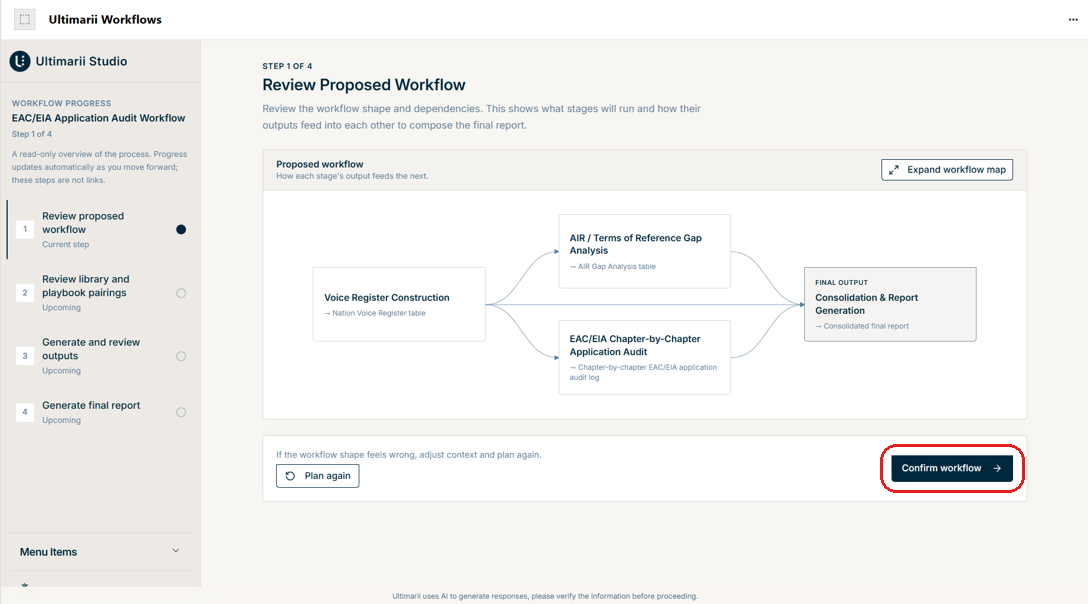
Review the proposed workflow
Below is the proposed workflow, showing how each stage’s output feeds into the next. You can click Expand workflow map to view and review it in more detail. As you go through the plan flow, if the workflow diagram doesn’t look right, you can click Plan again to adjust your context and regenerate it. If everything looks good, click Confirm workflow to proceed to the next step.
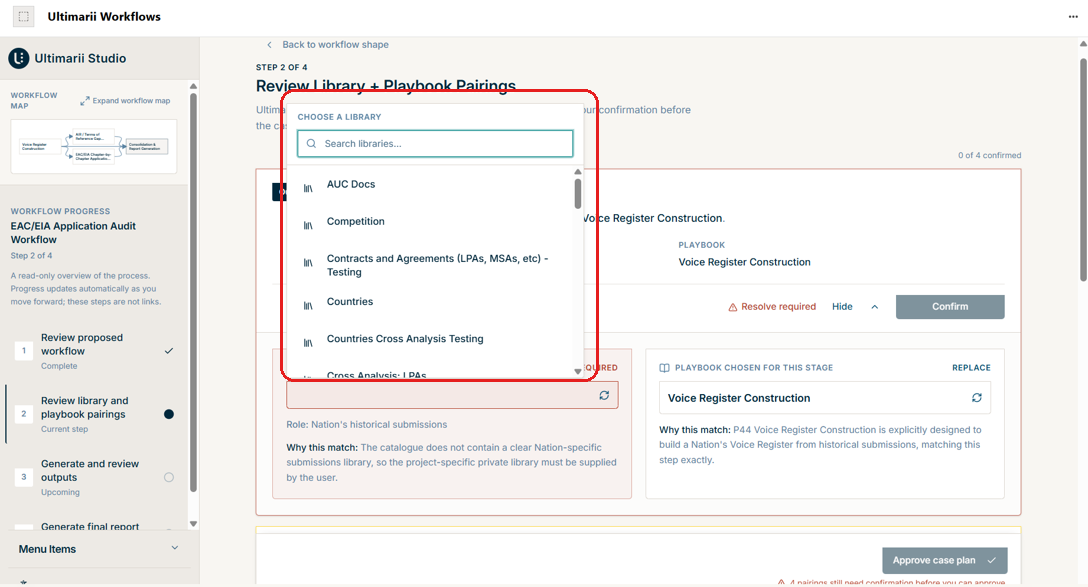
Select libraries for each research stage
After clicking Confirm workflow, you will reach the screen below, where you can review the libraries for each research stage if libraries are already selected, or select the library of your choice by using the libraries from the drop-down. You can also use the Search libraries field to search for a specific one.
If no library is selected, it is recommended to use the topmost library, as the libraries are listed in priority order.
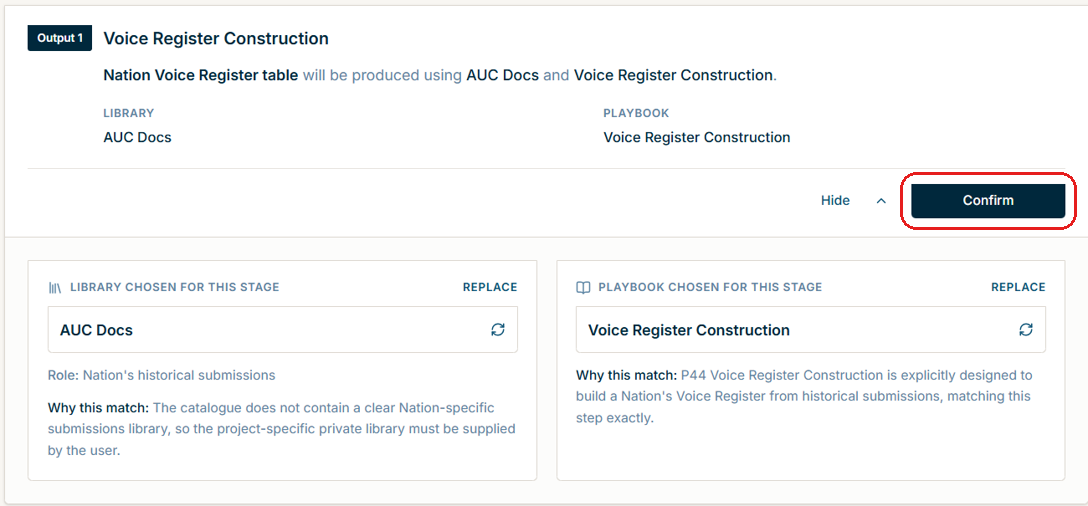
Confirm each stage
After selecting the library, the Confirm button becomes enabled. If you’re OK with the library and playbook shown, you can click Confirm. There will be a few more stages like this, where you need to select and review the library of your choice and click Confirm for each one.
Sometimes you may also need to select the playbook name, in the same way as you selected the library. In such cases, go with the topmost playbook name.
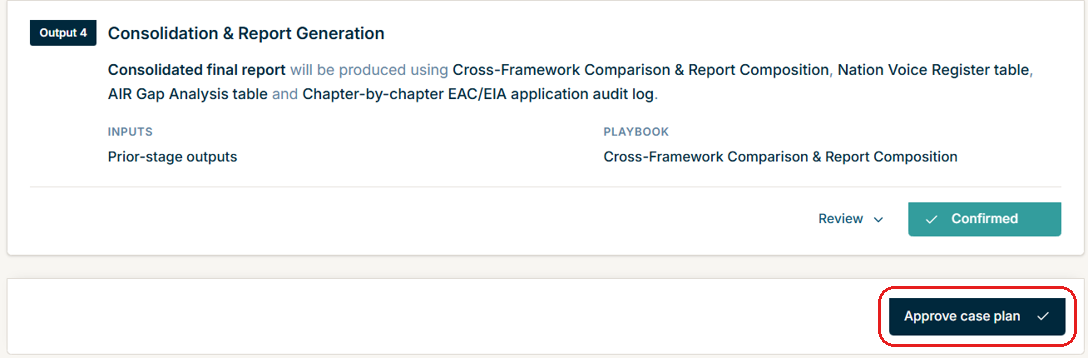
Approve the case plan
Once all the stages have been confirmed, the Approve case plan button becomes enabled. Click on it to approve the case plan and move forward to the Research stage.
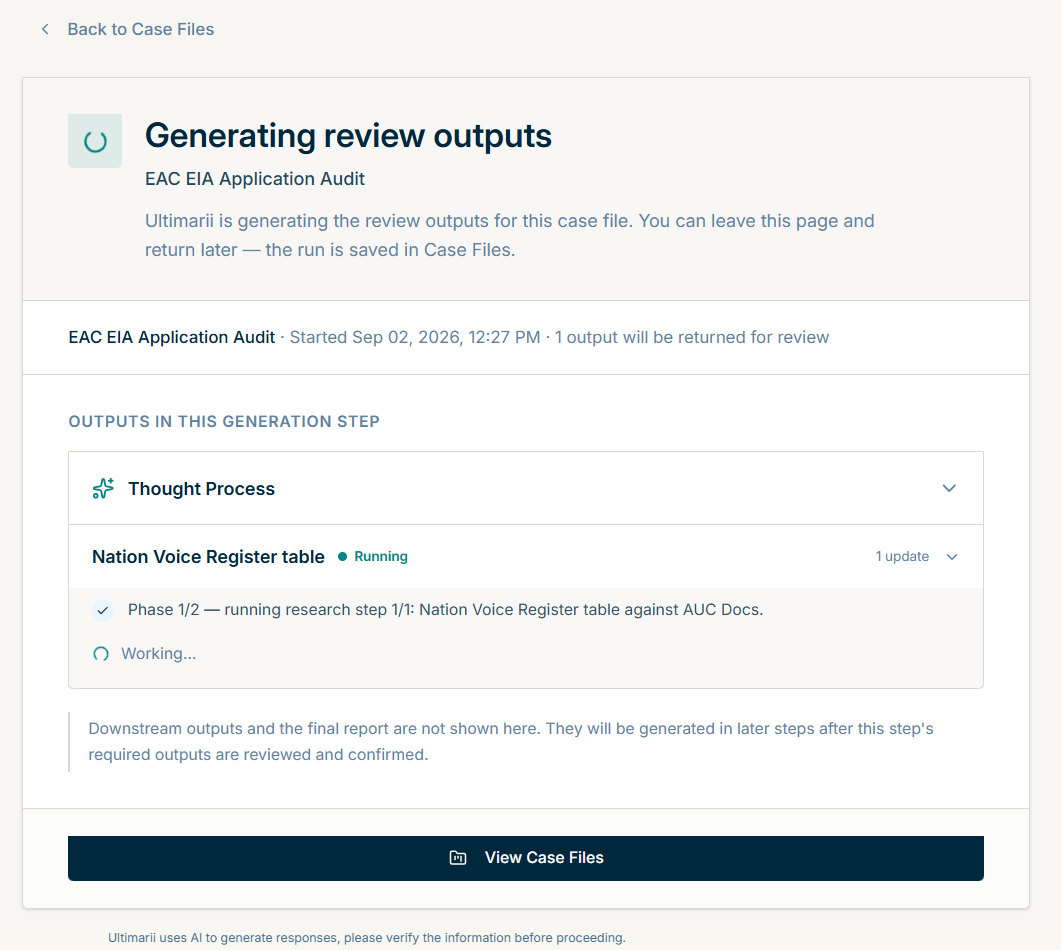
Research stage
After clicking Approve case plan, you’ll be redirected to a screen like the one below, which tells you that you are in the Research stage and it is generating review outputs for each library you have selected in the prior plan stage.
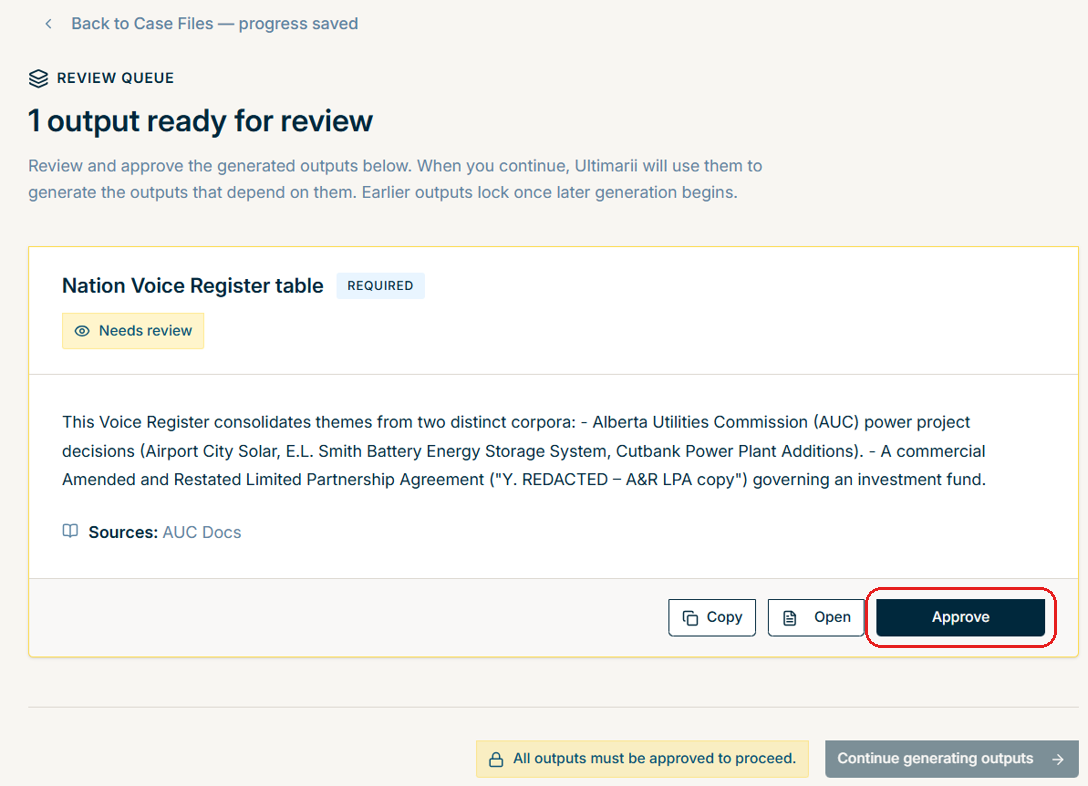
Approve the research outputs
Once the research step runs, you will see the intermediary research outputs. If you’re OK with the outputs shown, you can click the Approve button that appears there. You’ll also have other options such as Open and Copy.
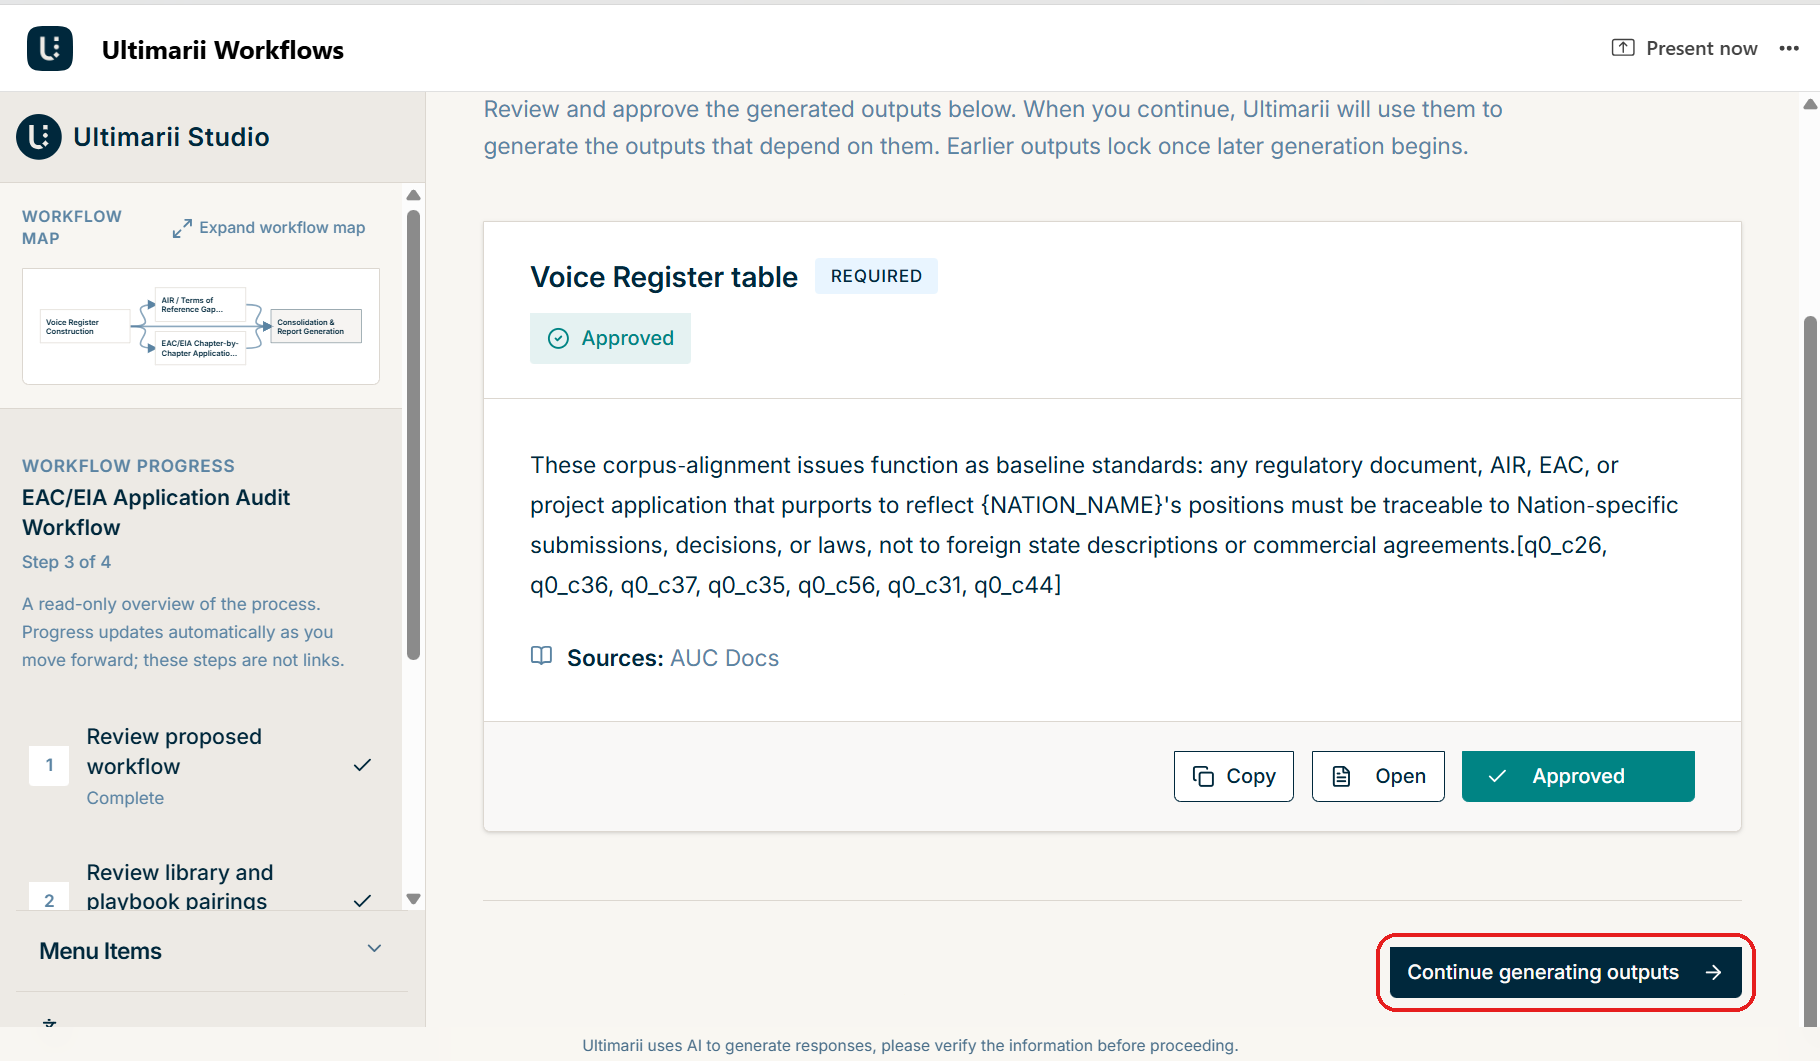
Continue generating outputs
Once you’ve approved all the outputs, the Continue generating outputs button will be enabled, and you can click on that to generate the outputs for the next research steps.
Approve the intermediate steps
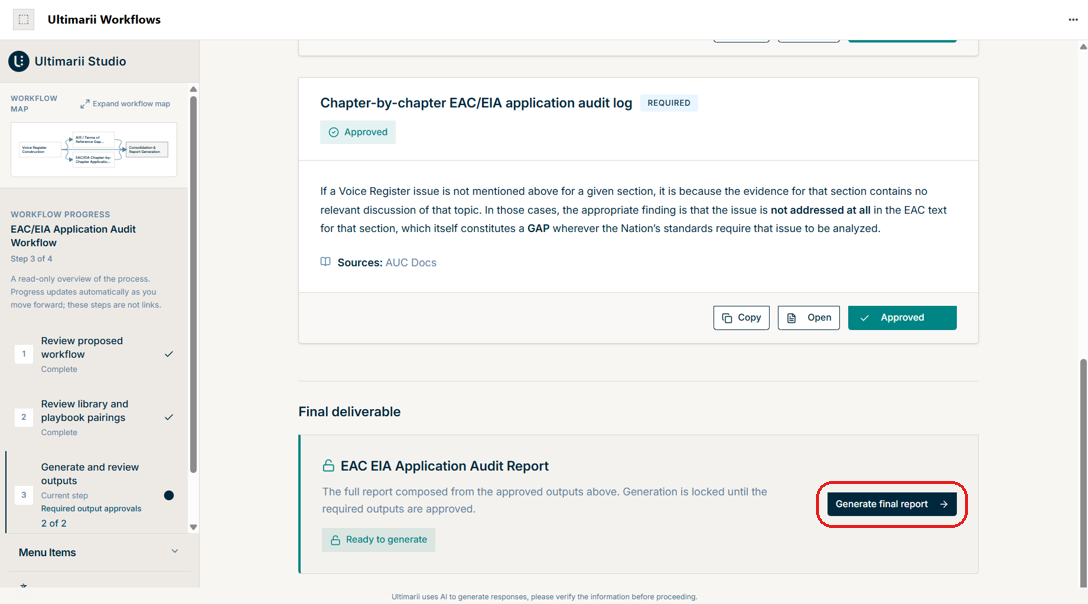
You will see a few intermediate steps like the one below, each with its own Approve button. Review and approve them to move forward. Once all the required outputs are approved, the Generate final report button becomes enabled. Click on it to continue and generate the final report.
Generating the final report
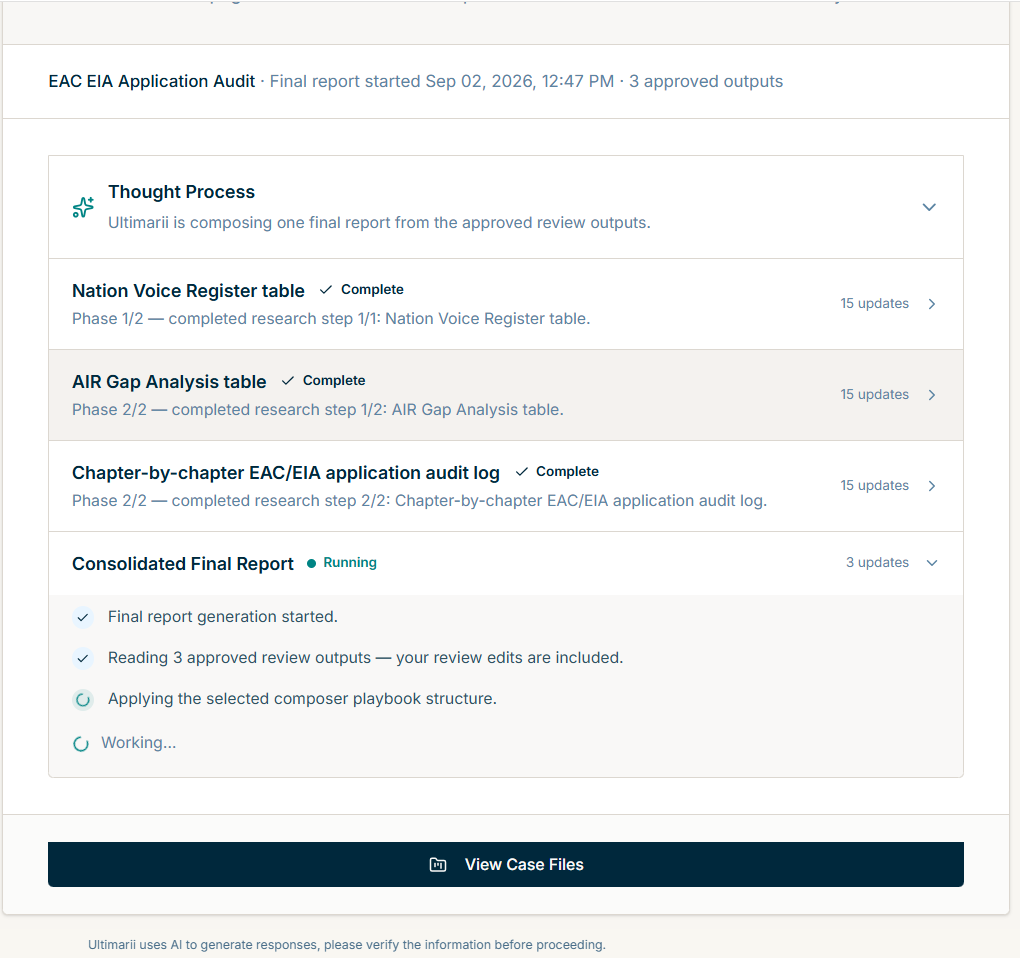
After clicking Generate final report, you’ll see the screen below, which tells you the consolidated final report is being generated.
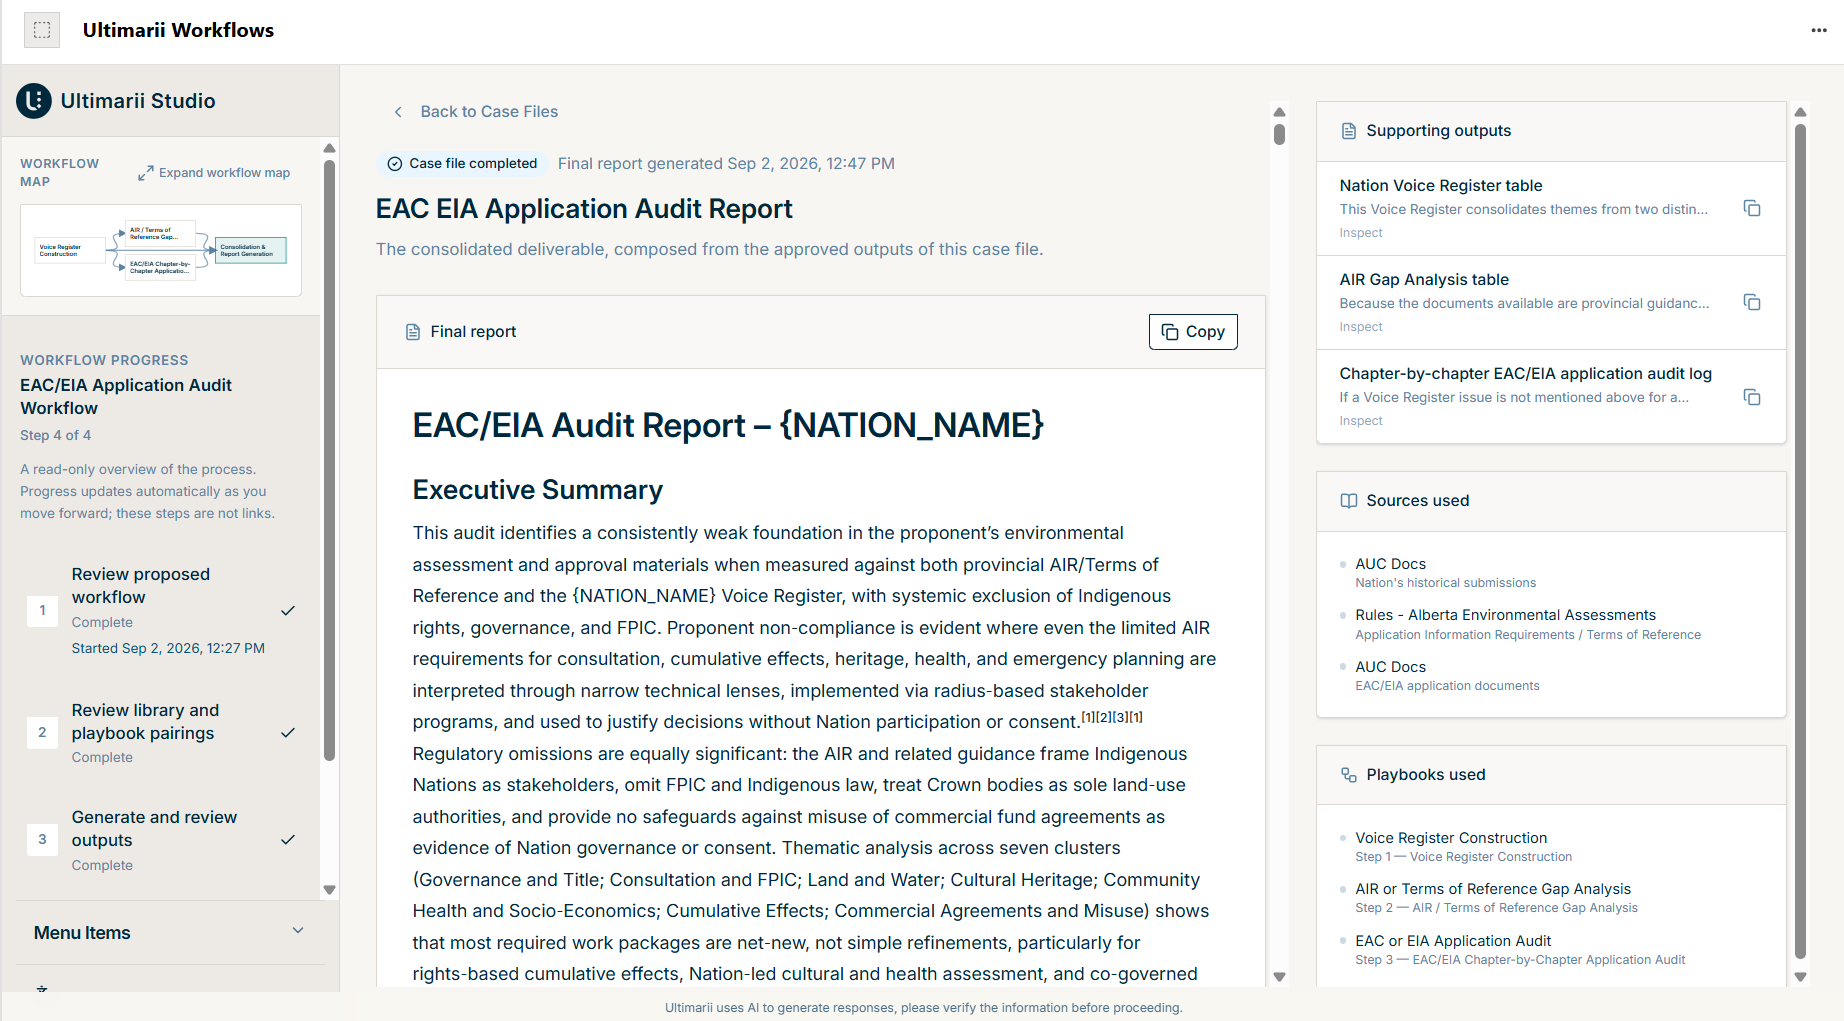
Final report
Once the generation is complete, you’ll see the final report, which you can review, along with the supporting outputs, sources, and playbooks used to compose it.